5 raised bed fixes that can make problems worse
Some raised bed fixes help, but only when they solve the real problem. A liner, brace, cap, bracket or support is not automatically an upgrade. If it answers the wrong pressure, it can trap moisture, hide damage, concentrate force or make the bed less stable.
That is why raised bed fixes can backfire. A bed may look more protected after a fix, while the real issue remains: too much saturated soil weight, too much wall height, too long a span, poor drainage, weak joints or uneven ground support. If you are still planning a bed, our raised bed soil volume, weight and load calculator can help estimate saturated fill weight, likely deflection and structural risk before those fixes become necessary later.
Key takeaway: A raised bed fix is only useful when it answers the cause, not just the symptom. Diagnose whether the problem is structural load, moisture movement or ground support before adding liners, braces, caps, brackets or bottom-board treatments.
Which raised bed fixes can make problems worse?
Most raised bed fixes go wrong when they are copied before the problem is diagnosed. The fix may be sensible in one bed, but harmful in another if moisture, load, support or drying behave differently.
| Raised bed fix | What it tries to solve | How it can backfire | Better first response |
|---|---|---|---|
| Liner or membrane | Wet soil against timber | Traps water behind the barrier and slows drying | Check whether the bed needs separation, better drainage or more drying freedom |
| Brace on a bowing wall | Visible movement under soil pressure | Moves force into fixings, joints or one small support point | Check soil weight, wall height, span, timber thickness and species |
| Cap, trim or cover strip | Rain on exposed timber edges | Creates vertical water-entry points and can hide dampness beneath the trim | Use detailing that sheds water without adding unnecessary top-down fixing holes |
| Brackets and extra screws | Weak corners or loose joints | Concentrates stress around holes, fasteners and surrounding fibres | Improve the load path rather than relying only on more metal |
| Wrapping or sealing the bottom board | Rot where timber sits against grass, weeds or damp soil | Traps moisture, reduces drying, or leaves the wet ground-contact zone unchanged | Remove grass and organic matter, then create a firm, free-draining gravel zone beneath and around the bed |
The liner trap: do raised bed liners stop rot or cause it?
Raised bed liners can help when they solve a real moisture problem. They may reduce direct soil contact with less durable timber or provide separation where a bed sits in persistently wet conditions.
The risk starts when a liner is treated as automatic protection. If water gets behind it through gaps, folds, fixing holes or open edges, the liner can hold dampness against the timber while slowing evaporation. In a narrow, poorly ventilated space, condensation can add to the problem because moisture may form or persist where the gardener cannot see it. The bed may look protected, but the board can stay wet for longer.
That is the difference that matters. Timber durability is not only about whether wood gets wet. It is about whether it can dry again. A liner that blocks drying can turn brief wetting into persistent dampness, especially at the hidden timber-soil interface.
The better response is to ask what the liner is meant to solve. If the bed already drains well and the timber can dry freely, wrapping the inside may create a problem that was not there before. If separation is genuinely needed, the detail should still allow water to escape, air to move and the timber to be inspected. A liner is not wrong by default, but it should answer a moisture problem, not create one.
The brace mistake: how do you stop a raised bed from bowing?
A bowing raised bed is usually a load problem, not just a missing-brace problem. Soil pushes outward against the boards, and that pressure increases when the bed is deeper, longer, wetter or built from timber that is too thin for the span.
A brace can reduce visible movement, but it does not remove the force. It changes where that force goes. Instead of the wall flexing across its length, the load may be pulled into one fixing point, one joint, or one small area of timber. The bed can look straighter while the stress becomes more concentrated.
That is why some braced beds fail later at the fixing rather than across the whole wall. Screws can loosen, holes can enlarge, timber fibres can crush, and corners can start to rack because the pressure has been redirected rather than resolved.
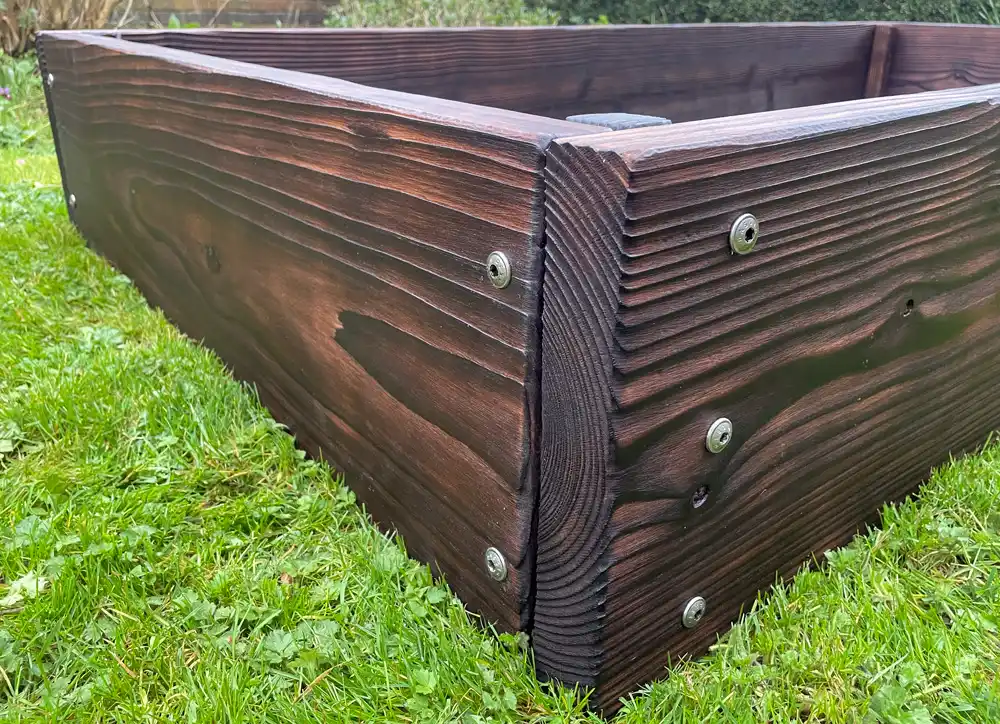
The better response is to diagnose the cause of the bowing first. Check the bed height, wall length, timber thickness, species, soil weight and joint design before adding reinforcement. If the wall was underbuilt for the load, the real solution may be a shorter span, thicker timber, stronger section, better corner construction or a lower fill height, not simply another brace.
The cap problem: do raised bed caps protect timber or create water entry points?
Caps, trims and cover strips can protect raised beds when they shed water cleanly and avoid trapping moisture. The problem starts when the cap is screwed down vertically into the very surface the gardener is trying to protect.
That vertical fixing changes the whole detail. Instead of water simply landing on the top edge and drying away, every screw hole becomes a potential water-entry point. Rain can sit around the screw head, follow the fixing down into the timber, and reach exposed end grain or upper board fibres. The cap may look like protection, but it has added new paths for water to enter.
This is one of the worst possible outcomes because it combines wetting with concealment. The new ingress points are hidden beneath a trim, airflow is reduced, and inspection becomes harder. The timber may look tidy from above while moisture is being driven into vulnerable areas below.
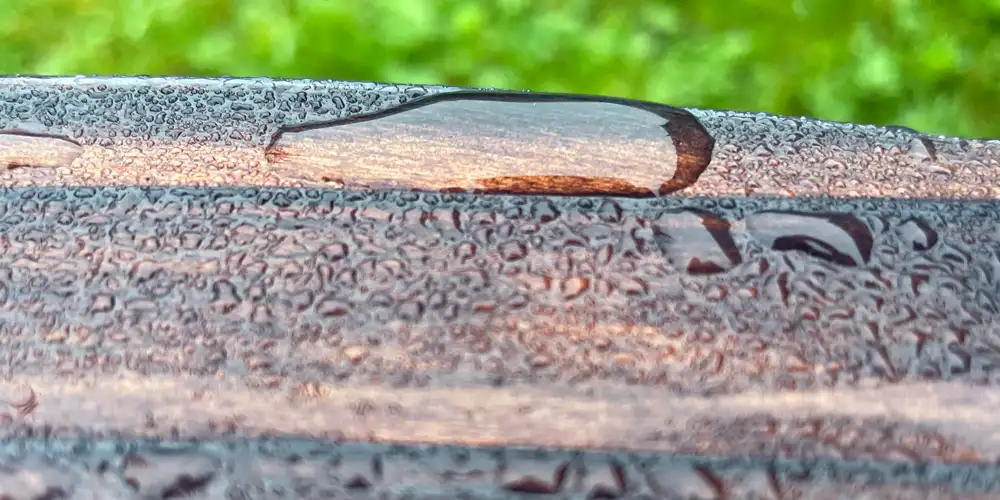
The better response is to protect timber without creating top-down water routes. Good detailing should shed water, reduce exposed weak points, avoid unnecessary vertical penetrations, and still let the timber dry after wetting. A cap is not wrong by default, but a protective trim should not create the very water-ingress problem it was meant to prevent.
The bracket trap: do extra screws make a raised bed stronger?
Extra screws and brackets can help when they are part of a clear structural plan. They can reinforce a joint, spread load, or stabilise a weak point that has been properly diagnosed.
The trap begins when more metal is added simply because the bed feels weak. A raised bed corner does not fail because it lacks decoration. It fails because force is moving through the joint in a way the timber and fixings cannot manage. Adding brackets may stiffen one area, but it can also concentrate stress around screw holes, fasteners and surrounding fibres.
That matters because soil pressure does not disappear when a bracket is added. The load still has to go somewhere. If the timber section, span or joint design is wrong, extra screws may only move the failure point. Holes can enlarge, fibres can crush, fixings can loosen, and the corner can start to fail around the reinforcement.
The better response is to strengthen the load path, not just the visible corner. That may mean thicker timber, better board overlap, stronger joint geometry, improved fixing orientation or a shorter unsupported span. Brackets and extra screws are not wrong by default, but they should support the structure, not compensate for a structure that was underbuilt from the start.
The ground-contact problem: why bottom boards rot first
The bottom board of a raised bed usually lives in the wettest zone. It is close to damp soil, grass, weeds, splashback and slow-drying ground. If the bed is placed straight onto grass, that organic layer can hold moisture against the timber and keep the base damp long after the rest of the bed has dried.
The mistake is treating bottom-board rot as a timber problem only. Replacing the board, painting over it, adding a strip of plastic or lifting one edge may not solve the condition that caused the decay. If wet grass, trapped soil and poor drainage remain around the base, the new detail is still working in the same damp zone.
The better response is to prepare the ground before the bed is installed. Remove grass and organic matter from the footprint, create a firm and level base, and make sure water can drain away instead of sitting against the lower board. The aim is not to seal the timber away from reality. It is to stop the bottom edge being held in constant wet contact from day one.
For a fuller explanation of this stage, see our guide to how to prepare the ground for a raised bed.
How to avoid raised bed fixes before you build
Many raised bed fixes are late responses to problems that could have been checked earlier. Bowing, overloaded corners and weak joints often begin with predictable pressures: too much saturated soil weight, too much height, too long a span, timber that is too thin, or a species that is not stiff enough for the design.
This is where a calculator helps. It will not tell you whether a liner traps moisture or whether a cap creates water-entry points. Those are drying and detailing questions. But it can help with the structural problems that often lead to braces, brackets and extra screws later. Our raised bed soil volume, weight and load calculator estimates soil volume, saturated fill weight, likely deflection and suggested design remedies before the bed is built.

The important point is not just the number. It is the remedy. If the tool shows that a planned bed is carrying too much load for its height, span, timber thickness or species, the better answer may be to change the design before construction. That could mean reducing span, increasing timber thickness, choosing a stiffer species, lowering the wall height or changing the proportions of the bed.
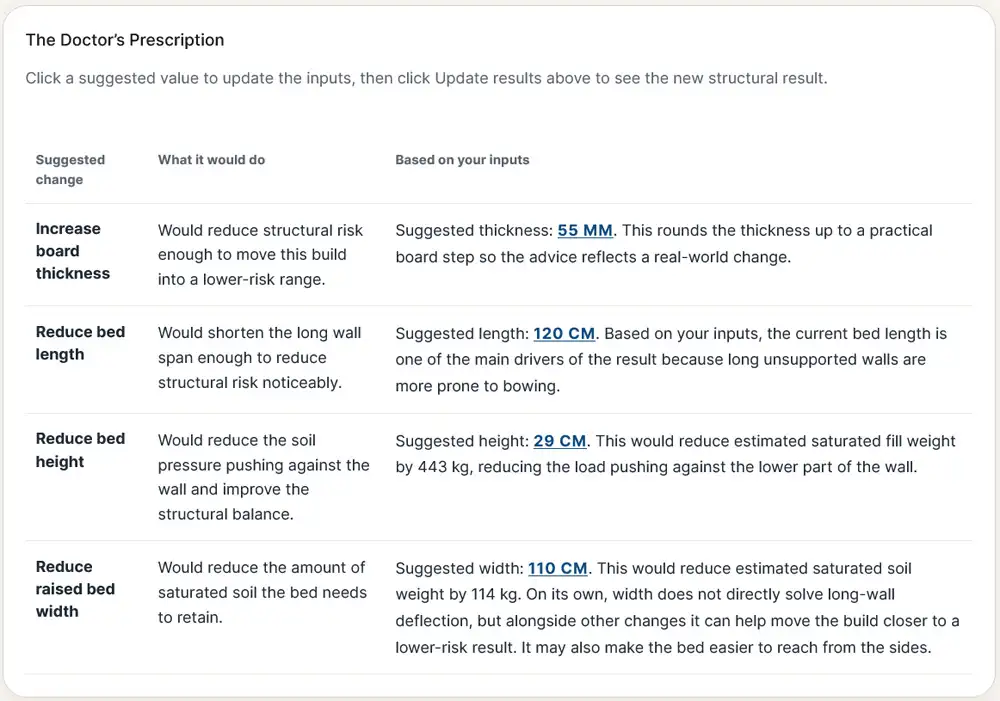
That is very different from fixing a bowing bed after it has already moved. Once the soil is in place and the wall is under pressure, every fix is working against an existing load. Before the build, the same problem can often be avoided by changing the design.
The best raised bed fix is the one you never need because the problem was diagnosed early.
What is the best way to fix raised bed problems?
The best way to fix raised bed problems is to diagnose the cause before adding anything. A liner does not help if it traps moisture. A brace does not solve bowing if the wall is still overloaded. A cap does not protect timber if it creates new water-entry points. Extra screws do not strengthen a joint if the load path is wrong.
First ask whether the problem is structural load, moisture movement, water ingress, ground contact or poor support. Once that is clear, the right answer may be a fix. It may also be better drainage, thicker timber, shorter spans, stronger joint design or no added feature at all.
A good raised bed fix solves the cause, not just the sign.